Introduction
Aplus+ and Take2
Enrolment
Each of the students in any of our programmes will have been through an enrolment process. They will have provided us with their personal information and which programme the wish to study.
The information is usually collected on an enrolment form and fed into our student database ‘Take2’ via CRM.
Take2
Take2 is where all records relating to a students completion or non-completion exist. It’s information from this database we provide to TEC to demonstrate our performance.
Take2 to Aplus+
The data in Take2 including the the qualification, intake and individual course each student is enrolled in, is synchronised with Aplus+. The synchronisation takes place overnight.
Tutors mark attendance and enter course completion data into Aplus+. Administrative staff return completion data to Take2 in order to print transcripts and Diplomas/Certificates.
If you discover that students information is incorrect or you have additional or missing students in your courses in Aplus+; it usually means the information is wrong or missing in Take2.
Accessing Aplus
We access Aplus+ using any web browser. the link is aplus-yoobee.myacg.org
You will presented with a login screen (use your 6 digit user code and password).
The home screen is divided in to 4 main areas:
- The tabbed drop down menu bar at the top
- A list of courses you have been added to in the middle
- Stats and other information on the right
The top right corner also displays the date range for courses that will be displayed, This should normally be set to the ‘current year, Whole Year’ clicking on it will allow you to change it to a different year of a specific date range.
Reports
The report section of Aplus+ allows us to create and view statistics generated from the attendance and assessment data. This section has three tabs:
- Overview – A large list of reports that can be generated
-
Shared Reports – Reports that other staff, HOFs and administrators have created
Ask a HOF or campus manager before sharing a report. Because they are visible to all staff across all campuses it is best to only share report that are useful across faculty and/or campuses. Reports can be easily shared with a smaller group of staff by coping and pasting the report url into any communication tool.
- My Reports – Reports that you have created and saved
Clicking Change criteria will allow you modify the report to accommodate different courses or qualification or date ranges.
Interface Tips
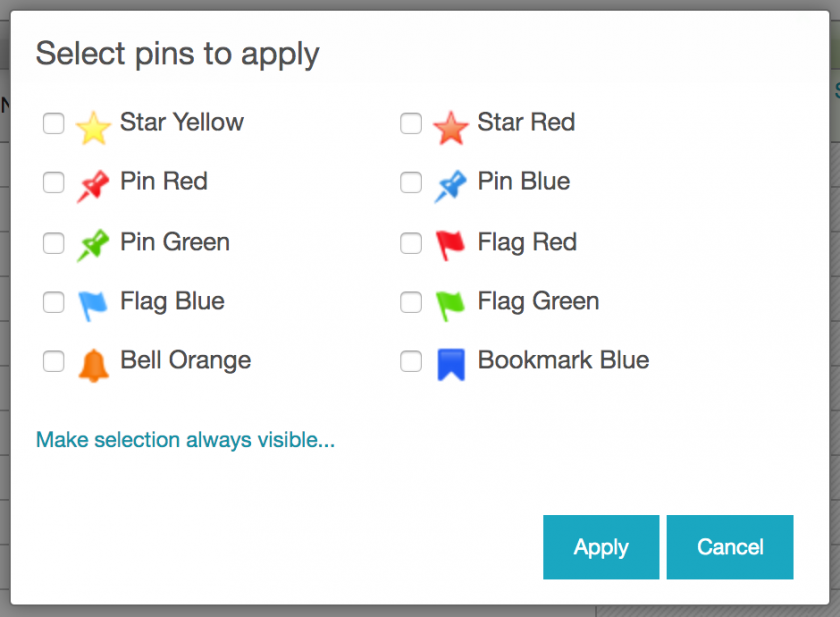
Star pins
from the course list view or from with in a course you can assign a range pins to a course to help identify it in your interface. Using the Star Yellow and Star Red pins will make the the course available in your home screen.
Changing what information is shown when viewing student lists
When viewing the list of student from within a course, you can change what information is displayed. Clicking the pencil icon in the top right of the table view will allow you to turn on and off different information. You may wish to display student phone number or not display their date of birth. you can customise the view to display only information that is useful to you.