Syncronisation
Maintaining consistency between photos within a shoot can be a really important part of a photographers job. Particularly for jobs where you images need to look like part of cohesive set.
For example:
- Realestate
- Weddings
- Portraiture
Syncing
When multiple images are selected in Lightroom, only one image will be considered the primary selected image.
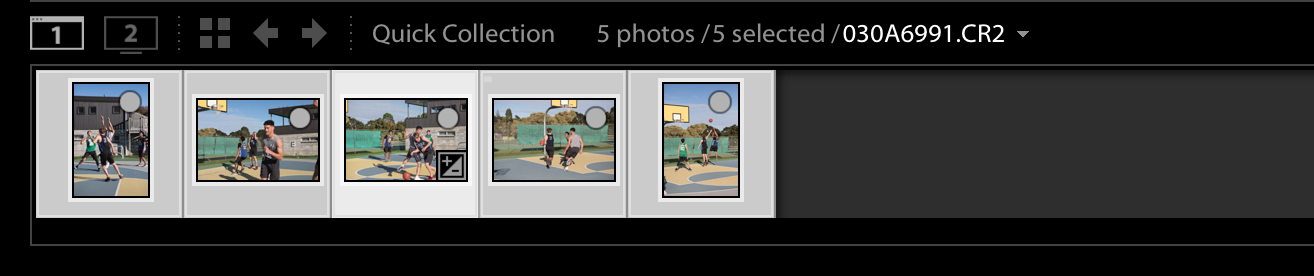
It can be identified by it's lighter background in the loupe view or by the fact that it is the image visible in the develop module.
if you have more than one image selected in either the Develop or Library module to have the option to Sync… or Sync Settings.

Sync in the Library module is for syncing metadata, Sync Settings is for syncing develop settings.

By default the synchronize settings will sync all changes that affect the entire images. Local adjustments like the Radial or Graduated Filters or Adjustment Brush with be unchecked.
You can check or uncheck any of the settings to allow them to sync or not.
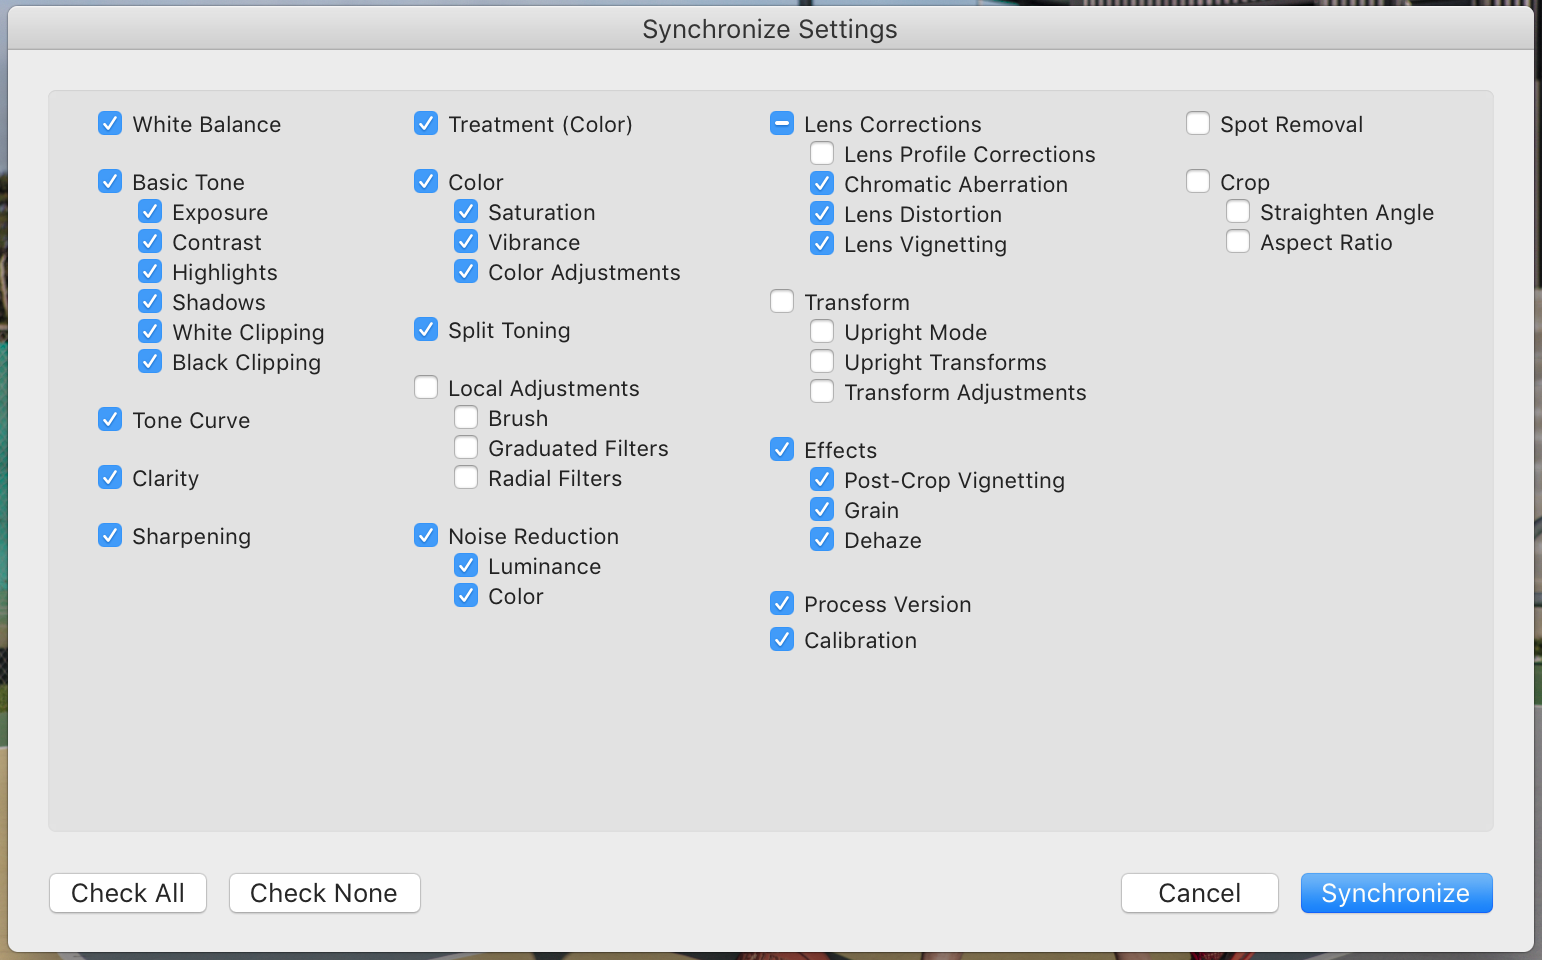
Clicking Synchronize will sync the setting s from the primary selected image with the all other selected images.
Tips
If you images have very different exposure properties – it might be a good idea to uncheck all or some of the basic tone settings during sync.
If the horizon line is in a similar place in a series of image – you can sync a Graduated filter to darken or lighten the sky.
No comments to display
No comments to display